Setup a Cost Effective Web Site
Last Updated on November 10, 2021 by Hammad Rauf
Many people pay hefty monthly subscription fees to have a Website for their Business or Personal use. It is possible to setup up a functional website in your home or small business office in a cost effective way. It will save you money in the long run, and you have total control over the site. The only catch is that you (or someone in your home/team) will have to be a little tech savvy.
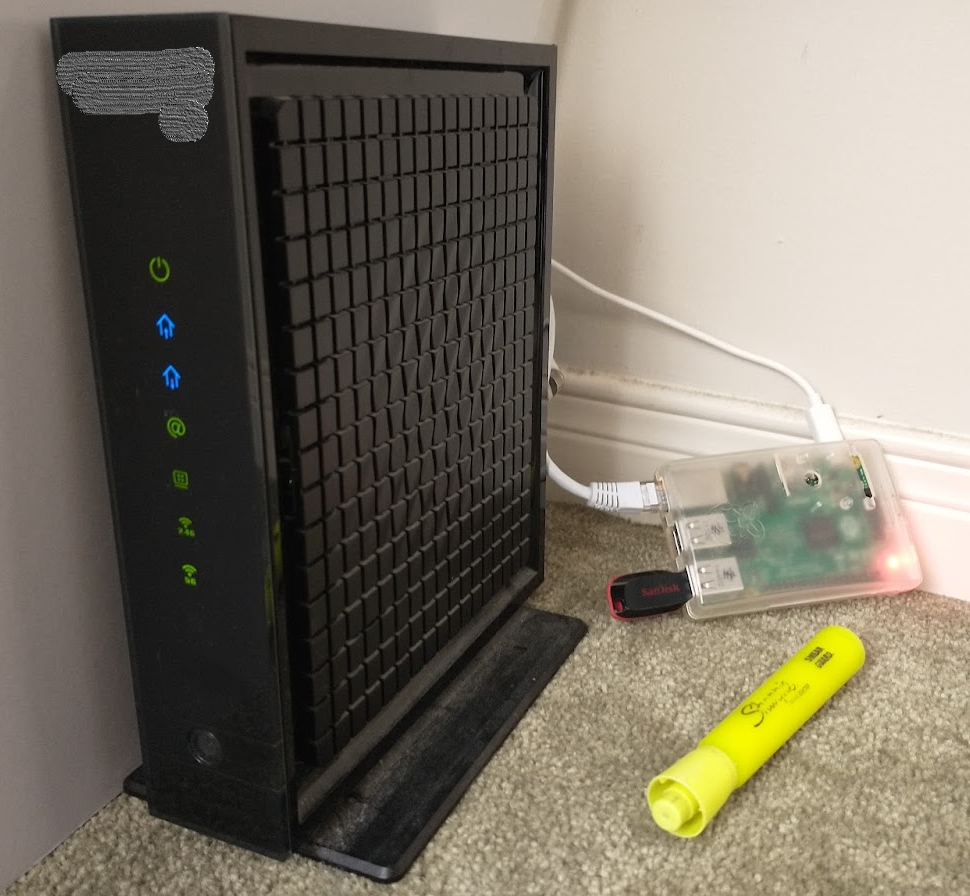
Raspberry Pi is a small Single Board Computer (SBC), which is available in different forms for low prices, some as low as US$ 10. These articles will particularly be referring to Raspberry Pi 2B that sells for US$ 35. Your circumstance may lead you to more expensive setup. I would also be using an USB Thumb Drive (16GB), that costs about US$ 8 on Amazon. Almost all homes and small offices already have an Broad-Band Internet connection, so I will not factor in that cost. Plus there will be a cost for the Wall Adapter, Case, SD Card and Heat Sink.
- One of Raspberry Pi 2B, Raspberry Pi 3B or Raspberry Pi 4B
- Heat Sink (Optional for 2B)
- A Plastic or Aluminum Case for your Model of Raspberry Pi
- Wall Power Adapter
- SD Card (8 GB or higher)
- USB Thumb Drive (16 GB)
- Internet Connection: Connected 24 Hours 7 days a Week – Minimum Download speed of 50 Mbps, Minimum Upload speed of 50 Mbps.
[CP_CALCULATED_FIELDS id=”6″]
So your total lifetime expense for the Web-Site will be at the least US$ 80, using free versions of most software items. For a faster site you may opt for Raspberry Pi 4B 8 GB Model but that is a bit more expensive then the other models. You may also opt for paid domain names, non-free SSL Certificates, and paid versions of WordPress-plugins, those will be extra costs if you go that path. In this series of articles we will be using free versions of what ever is possible, if you want you can replace those items with paid versions later on.
The beautiful thing about Raspberry Pi is that it is very quite (usually no fan coolers), consumes very little electrical power (Pi 2B needs 2 Amperes at 5 Volts = 10 Watts). In this Web-Server use-case it does not need a Monitor screen to run, it can run headless. You can use you MacBook, Laptop or Desktop to configure or monitor it via network connection using SSH Protocol.
This series of articles will guide you through to set up a WordPress Site on your Raspberry Pi. WordPress is a very popular Open-Source, Blogging Application written in PHP Programming Language, designed to run on a Web Site Server. Over the years it has seen many Plugins developed for it and a huge community of developers, vendors and users . WordPress is also used to sell products, services, and many Shopping-cart plugins are available for it. Many web sites around the world are executing in WordPress Application in the background.
This series of articles will be made up of the following parts:
Part 1 – Setup the Pi (Coming Soon)
Part 2 – Install Apache2 – (Coming Soon)
Part 3 – Install PHP – (Coming Soon)
Part 4 – Install MariaDB/MySQL – (Coming Soon)
Part 5 – Setup Domain Name – (Coming Soon)
Part 6 – Obtain and Install SSL Certificate – (Coming Soon)
Part 7 – Install WordPress – (Coming Soon)
Part 8 – Basic Configuration and Security in WordPress – (Coming Soon)
Part 9 – Secure Raspberry Pi with fail2Ban – (Coming Soon)
Part 10 (Bonus) – Setup Private DNS Server – Having multiple sites in Apache – (Coming Soon)
Part 11 (Bonus) – Backup and Remote Private Cloud Sync – (Coming Soon)


