Experiments with IaC – WebNode
Last Updated on September 10, 2024 by Hammad Rauf
“WebNode” is a IaC script to quickly build and deploy a PHP WordPress WebServer and Email Relay Host on a virtualized server and possibly copied over to an actual Physical Hard Disk. It is a work in progress…as I write these lines.
IaC
‘Infrastructure as Code’ or IaC is the process of managing and deploying System infrastructure on virtualized environments. In simple words it is a fancy name given to creating and editing Virtual Machines (and system services) using scripts and code.
IaC has some benefits and some limitations. Benefits include the fact that all this code can be saved in repositories and replayed automatically when needed. One limitation is that if some physical work is involved, that can not be expressed as code.
I started on my Ansible journey impressed by the work done by Jeff Geerling in Ansible (A system for automating repititive tasks as code) and also his Video Series on teaching Ansible. I forked his Packer-boxes Github repository to provide some latest Vagrant images for VirtualBox. Then learning from his Ansible videos, book, and other Ansible books, I am creating another Github repository that will create VirtualBox (and Cloud – Linode.com, Azure etc.) image named WebNode. WebNode will be a server that has Apache, MariaDB, PHP3, WordPress, and Postfix/Dovecot Email Relay software installed on it. Plus you will be able to bring your own WordPress Database into this node. It is still a work in progress.
Usefulness of Generic CI/CD System
CI/CD stands for Continuous Integration/Continuous Delivery. It refers to the concept of automating integration of minor developmental changes automatically into the bigger system along with automated testing. It also provides this successfully tested overall system ready for deployment to the end user, automatically deploying also if configured like so.
Terraform by itself is not a complete CI/CD tool. Any large scale deployment of Terraform/Ansible/Vagrant can not undermine the usefulness of generic CI/CD tools like Jenkins. Jenkins can provide the missing glue in your automated pipeline.
Using the WebNode Project
Note about Platform: The instructions given here have been tested on host Ubuntu 22.04 and Windows 11 (with WSL2). The same instructions , with little or no modifications, should also work on MacOS. The virtual machine image can be based on Debian or RHEL based Operating systems.
Make sure you have Git Version control software installed on your computer. Clone the Git project from https://github.com/build-boxes/webnode.git
git clone https://github.com/build-boxes/webnode.git
cd webnode
Local Images Creation – On VirtualBox
It can be used in Windows 10/11 (a bit difficult to setup), or you can use Debian/Ubuntu host environemnt.
- Install VirtualBox
- Install Vagrant, Ansible (Use Windows Subsystem for Linux 2)
- Install some plugins in WSL2 to allow Ansible and Vagrant to access Windows VirtualBox (Google Search, related link).
- Change into the project root folder.
- Download required roles with the following command:
rm -rf ~/.ansible/roles/ansible-galaxy install --force -r ./roles/requirements.yml - Run:
vagrant up OR vagrant up debian - Now you can ssh into your Virtual server.
vagrant ssh - Get the Local Network IP Address.
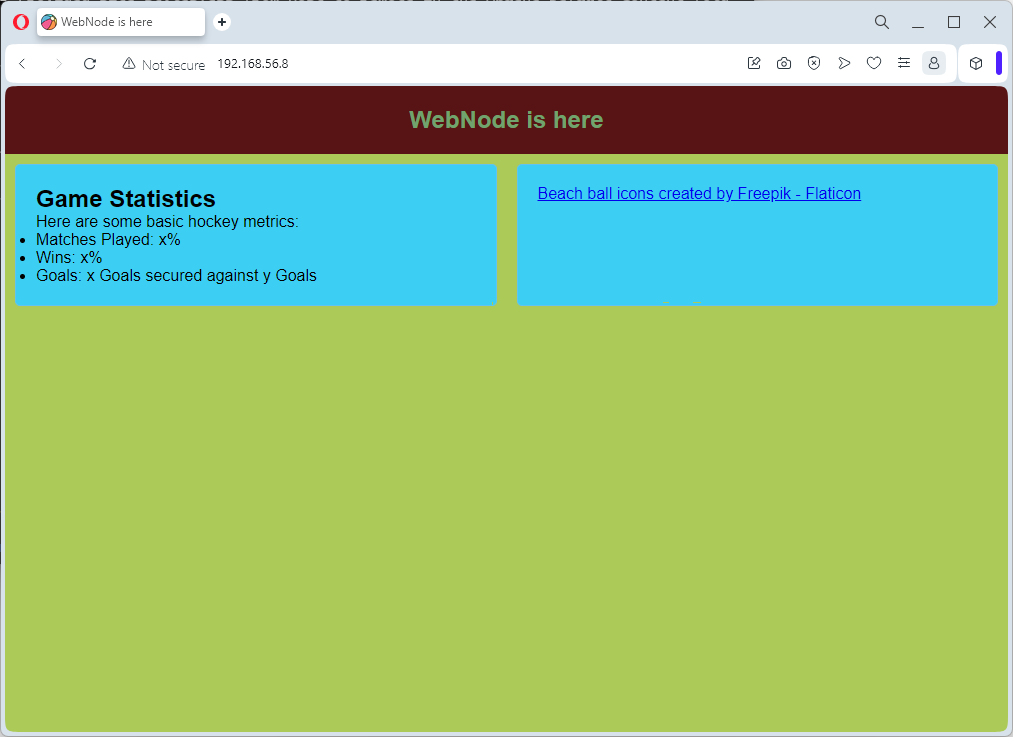
ip a - Open the IP Address in Browser.

WebNode default apache page - There is not much to see or test in the WebNode project itself, at this time, other than the page in previuos step. It is a work in progress. Follow the Github repository listed above for uptodate status.
- To shutdown the VM, run:
vagrant halt OR vagrant halt debian - To Destroy the VM, run:
vagrant destroy -f OR vagrant destroy debian -f
Cloud Image Creation – On Linode, Azure, AWS or GCP
It can be used in Windows 10/11 (a bit difficult to setup), or you can use Debian/Ubuntu host environment.
- Install Ansible, Terraform (Use Windows Subsystem for Linux 2)
- Install some plugins in WSL2 for Ansible (Google Search, related link)
- Change into the project root folder.
- Download required roles with the following command:
rm -rf ~/.ansible/roles/ ansible-galaxy install --force -r ./roles/requirements.yml - Change into one of the”tf-linode*” or “tf-azure*” subfolders
- Run:
terraform init terraform plan terraform apply -auto-approve - To Destroy run:
terraform destroy -auto-approve
Using the VirtualBox Images
Apart for use in the WebNode project above, the VirtualBox images can be used for other tasks also. Make sure Vagrant and Oracle VirtualBox are installed. Start by obtaing the Vagrantfile automatically as follows:
$ vargrant init raufhammad/centos9

OR

C:\> vargrant init raufhammad/centos9
This will show output like below:
C:\Users\XYZ>mkdir temp

C:\Users\XYZ>cd temp

C:\Users\XYZ\temp>vagrant init raufhammad/centos9
A `Vagrantfile` has been placed in this directory. You are now
ready to `vagrant up` your first virtual environment! Please read
the comments in the Vagrantfile as well as documentation on
`vagrantup.com` for more information on using Vagrant.
Once the Vagrantfile is downloaded, you may modify this file as per your needs, before the next step.
From the same box directory, run the following command after the Vagrantfile has been downloaded:
$ vagrant up
$ vagrant destroy -f
Addition of Ansible-Roles
References
- The WebNode project repository (Work in progress…), https://github.com/build-boxes/webnode , Date Accessed: April 18, 2024
- Jeff Geerlings original Packer-Boxes Github Repository, https://github.com/geerlingguy/packer-boxes , Date Accessed: April 18, 2024
- My fork from the above with updated Packer-Boxes, https://github.com/build-boxes/packer-boxes , Date Accessed: April 18, 2024
- Ready built VagrantUp.com (Vagrant boxes) repository, https://app.vagrantup.com/raufhammad , Date Accessed: April 18, 2024
- Install Oracle VirtualBox Link, https://www.virtualbox.org/wiki/Downloads , Date Accessed: April 18, 2024
- Install Vagrant link (Install in wsl2 in Windows) , https://developer.hashicorp.com/vagrant/install , Date Accessed: April 18, 2024
- Install Terraform link, https://developer.hashicorp.com/terraform/install , Date Accessed: April 18, 2024
- Install Ansible guide link, https://docs.ansible.com/ansible/latest/installation_guide/intro_installation.html , Date Accessed: April 18, 2024
- Install Ansible in WSL2, https://4sysops.com/archives/install-ansible-on-windows/ , Date Accessed: April 18, 2024
- Using Windows VirtualBox from Ansible in WSL2 – Tricks, https://slavid.github.io/2021/11/28/running-vagrant-ansible-windows-through-wsl2/#configuration , Date Accessed: April 18, 2024
- Book – Ansible: Up and Running (3rd Edition), Bas Meijer, Lorin Hochstein, and Rene Moser, Published by O’Reilly Media Inc, July 2022. Website: https://www.oreilly.com/library/view/ansible-up-and/9781098109141/, https://www.ansiblebook.com/
- Jeff Geerling (GeerlingGuy) Ansible Video Series, https://www.youtube.com/playlist?list=PL2_OBreMn7FqZkvMYt6ATmgC0KAGGJNAN , Date Accessed: April 18, 2024
- Custom Ansible Roles:
- What are Ansible-Roles? Date Accessed: May 11, 2024
- hammadrauf.sudousers – https://github.com/hammadrauf/sudousers/tree/main – Date Accessed: May 11, 2024
- hammadrauf.apache2 – https://github.com/hammadrauf/apache2 – Date Accessed: May 11, 2024
- hammadrauf.apache_vhosts – https://github.com/hammadrauf/apache_vhosts
- Jenkins Tutorial, https://www.jenkins.io/doc/tutorials/, Date Accessed: July 12, 2024